
DIY Inspiration
Take matters into your own hands
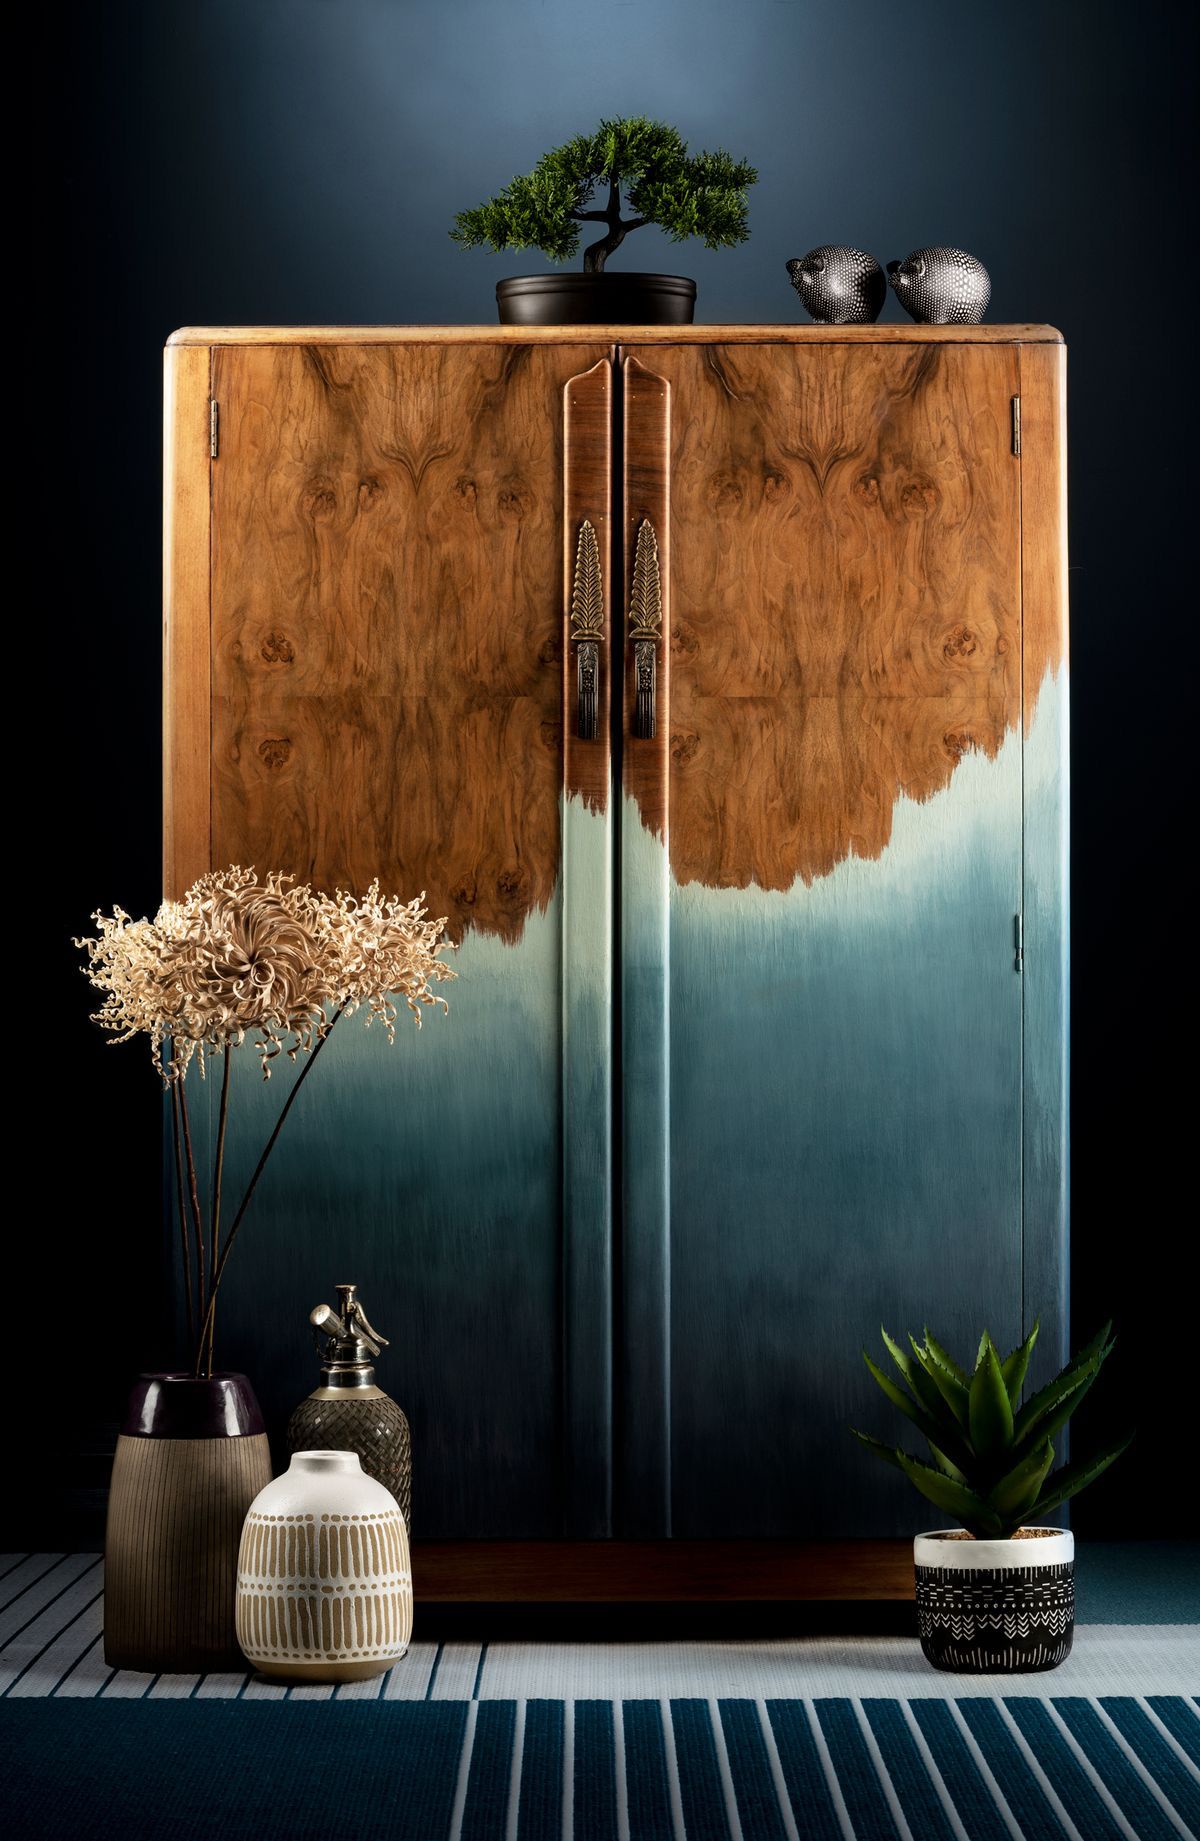
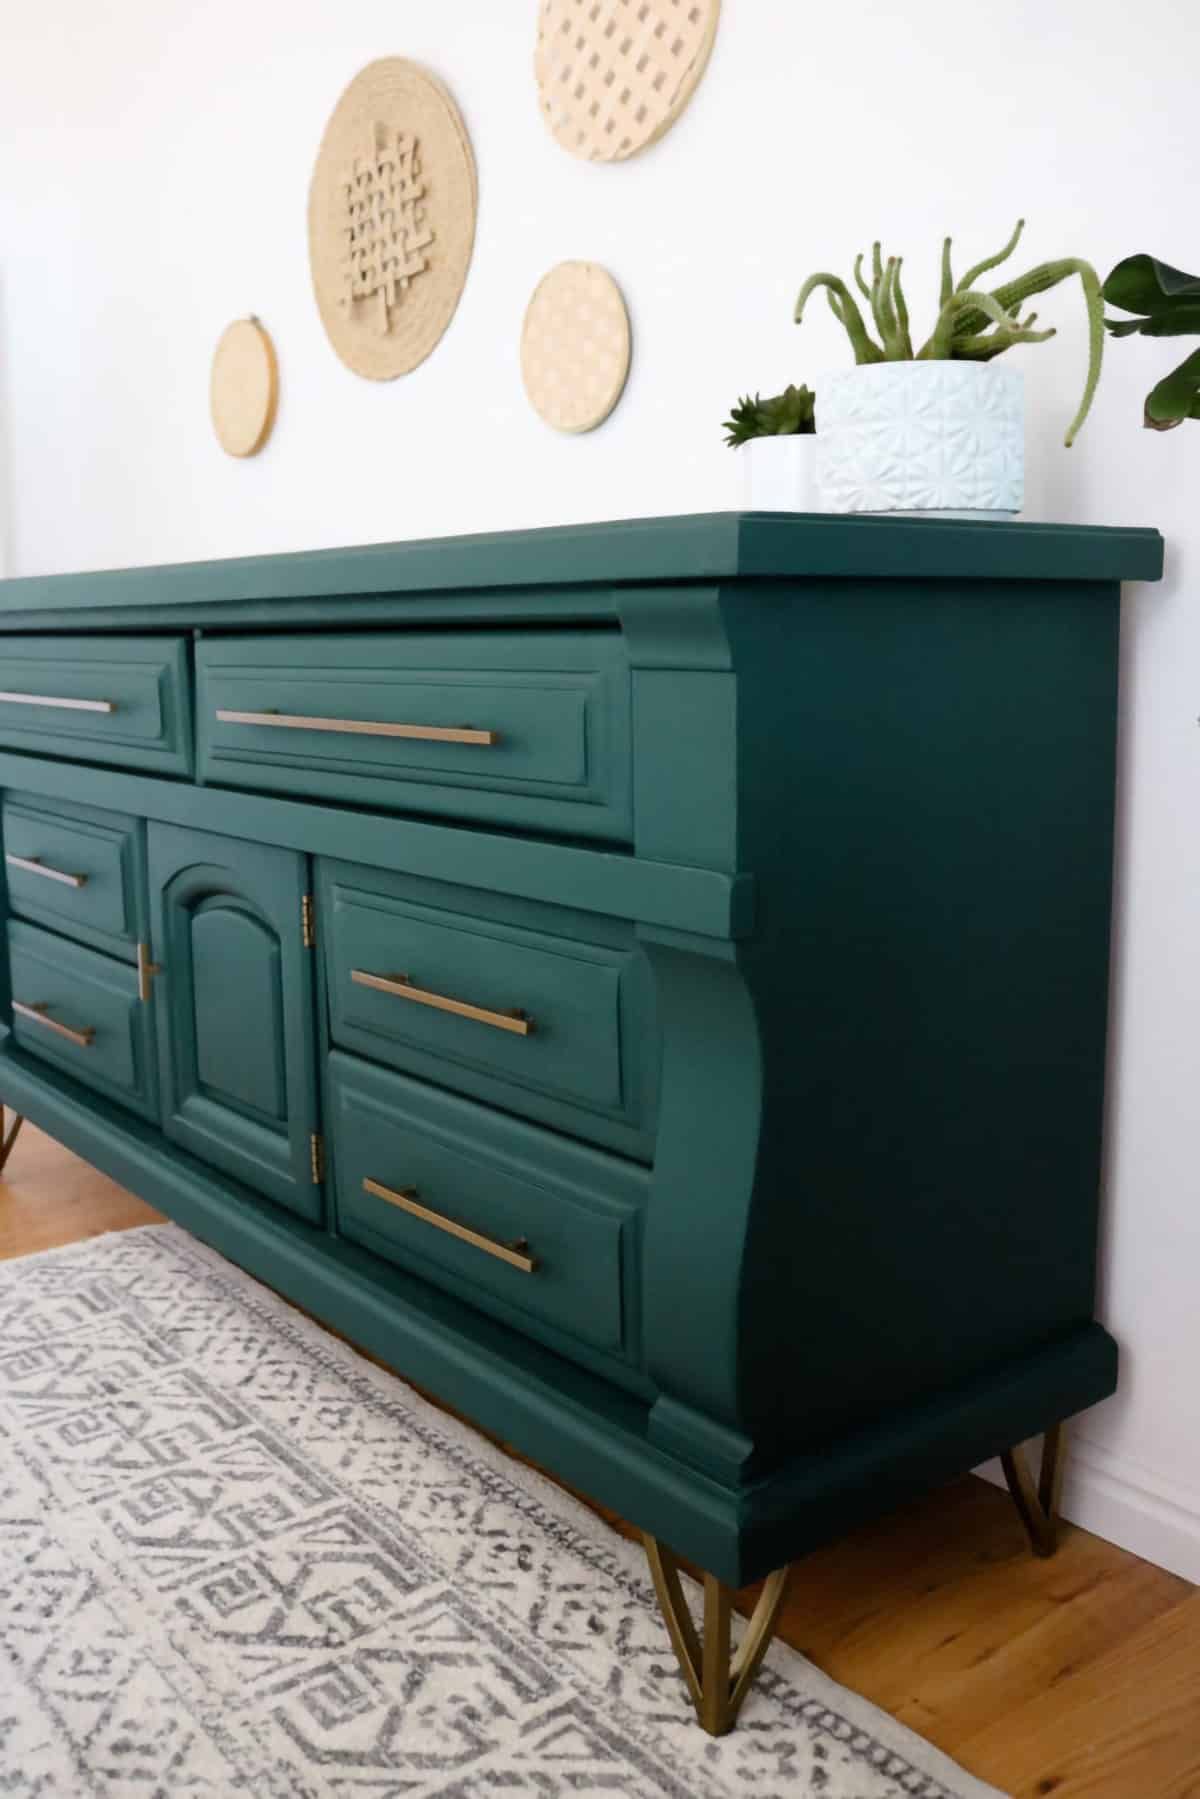
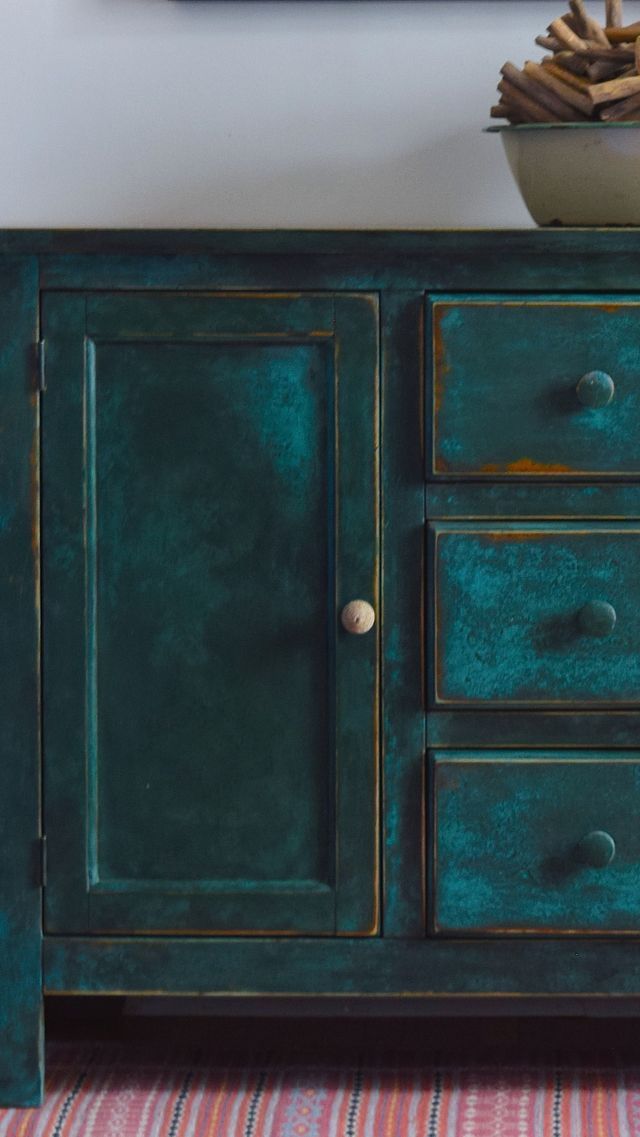
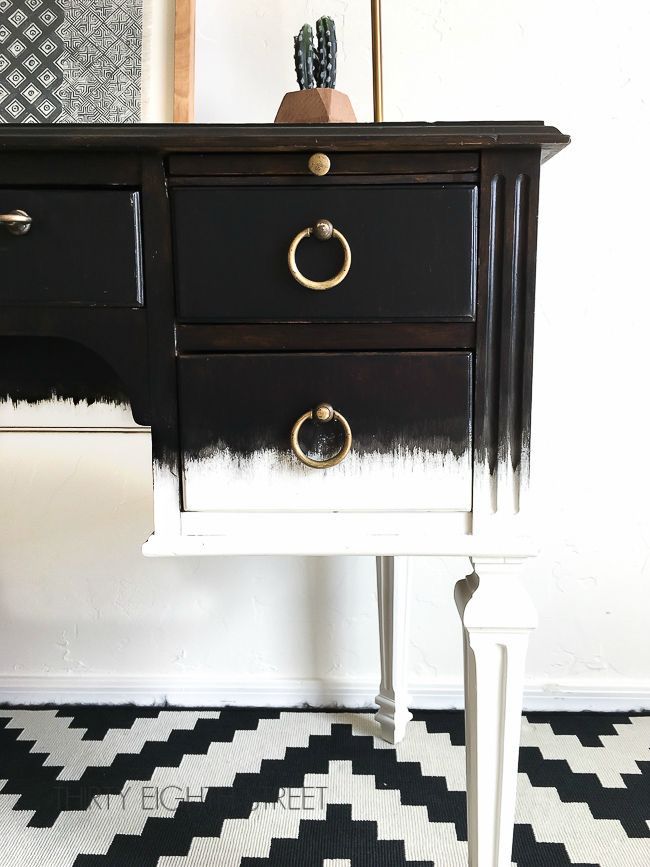
Color Away
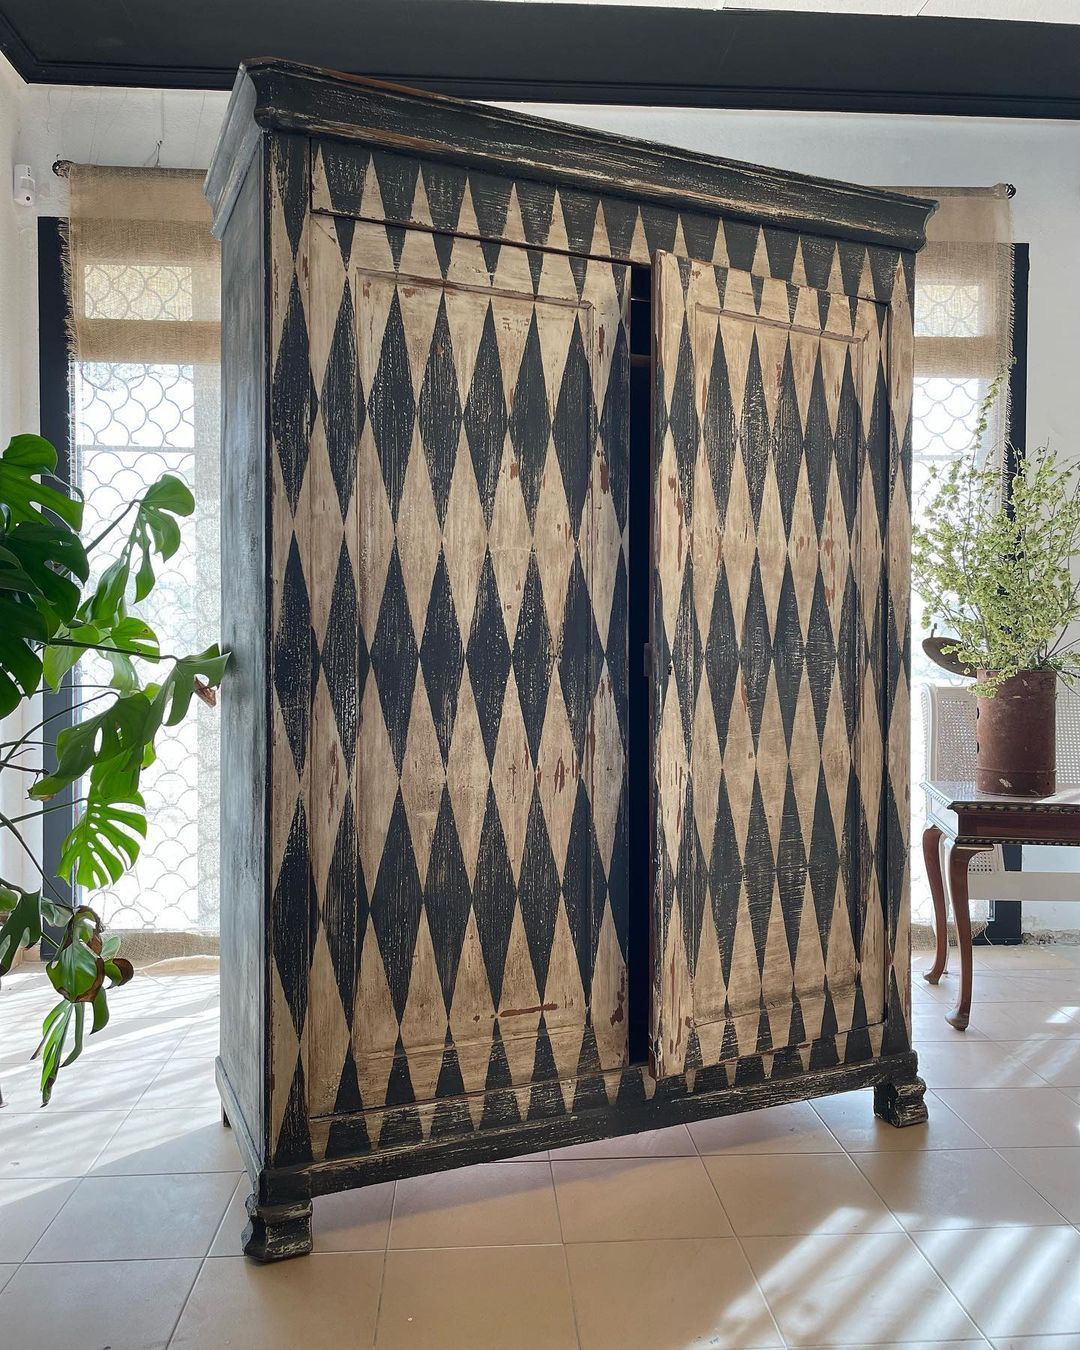
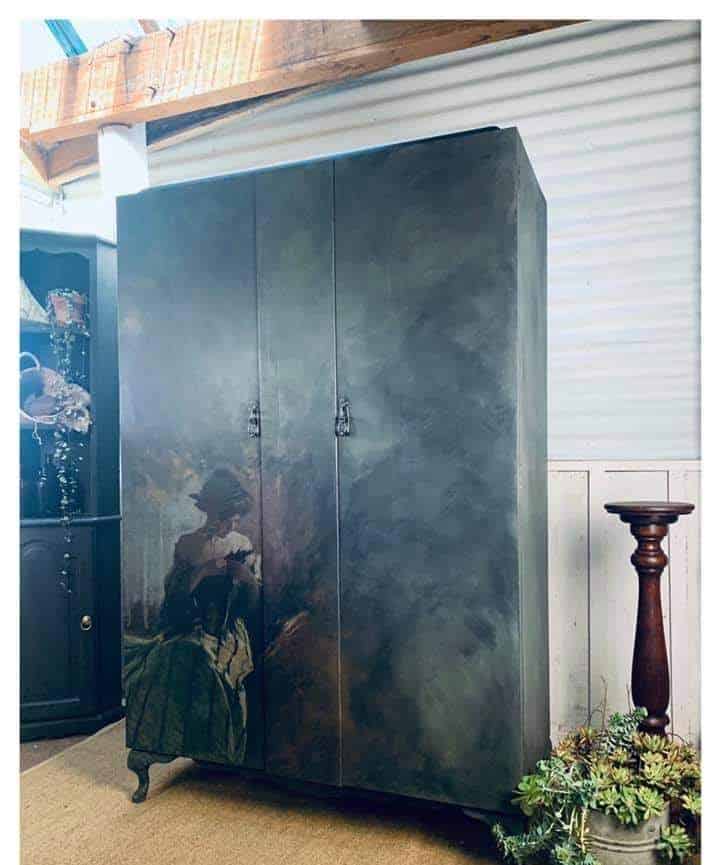
1. Refresh Furniture
Old, worn-out furniture can be instantly revitalized with a fresh coat of paint. For a smooth finish, lightly sand the surface, apply a primer, and then paint using a high-quality brush or roller. Spray paint is also a fantastic option for smaller pieces or intricate designs, offering an even finish with minimal effort.
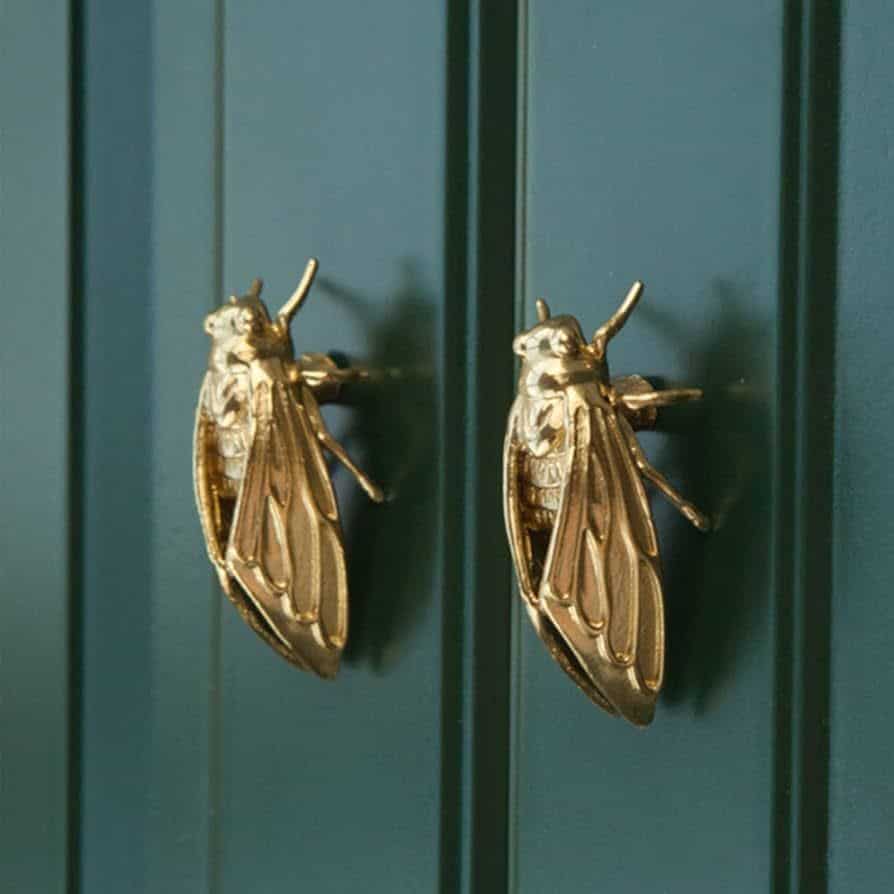
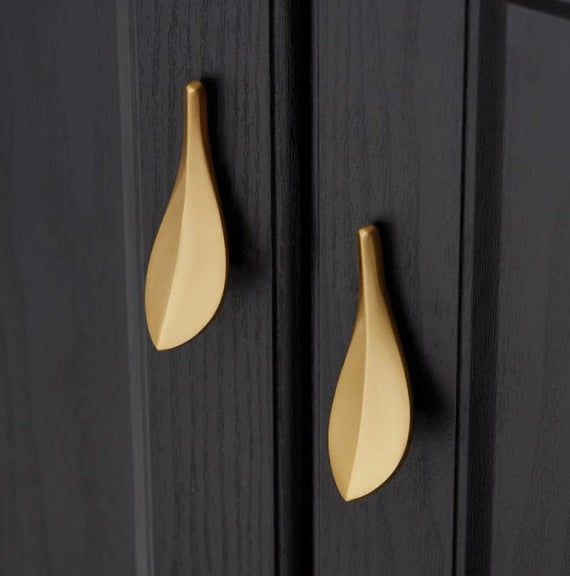
2. Update Fixtures and Hardware
Cabinet hardware, light fixtures, and even door handles can look brand new with a touch of spray paint. Simply clean the items thoroughly, apply a primer if necessary, and spray in a well-ventilated area. Allow the pieces to dry completely before reattaching them to avoid smudges.
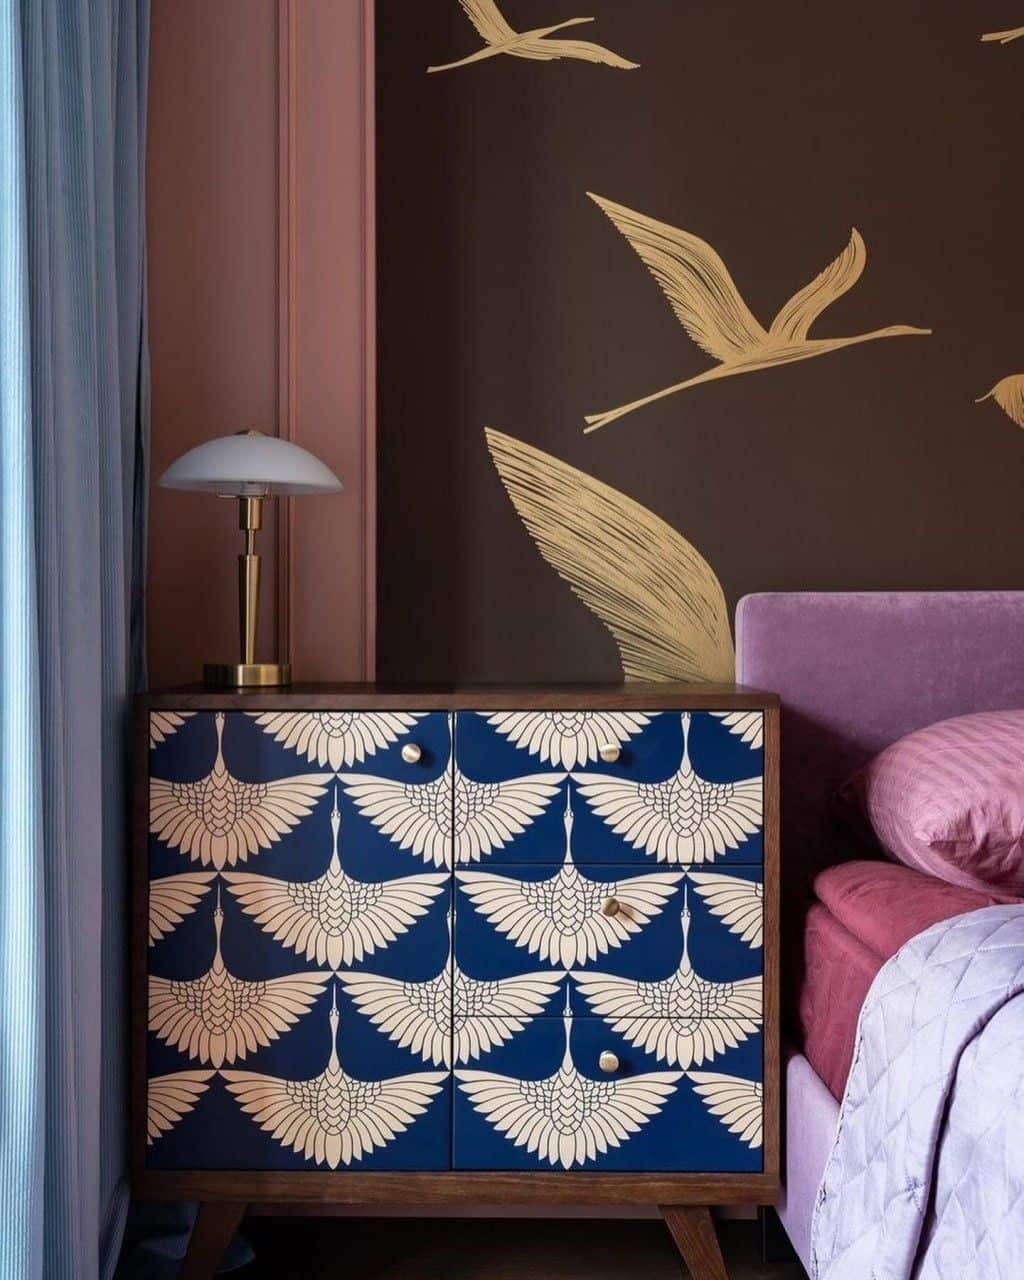
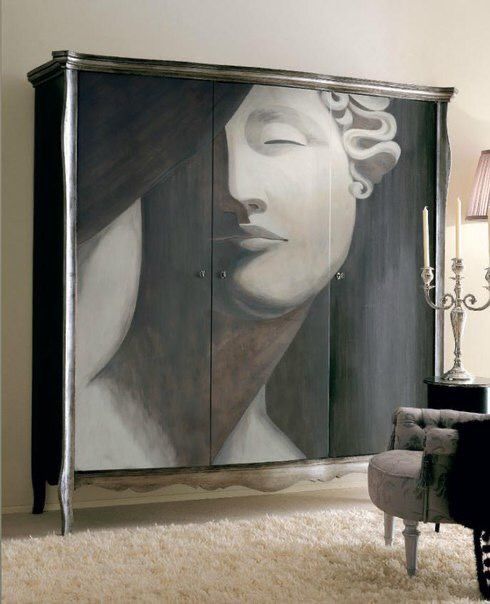
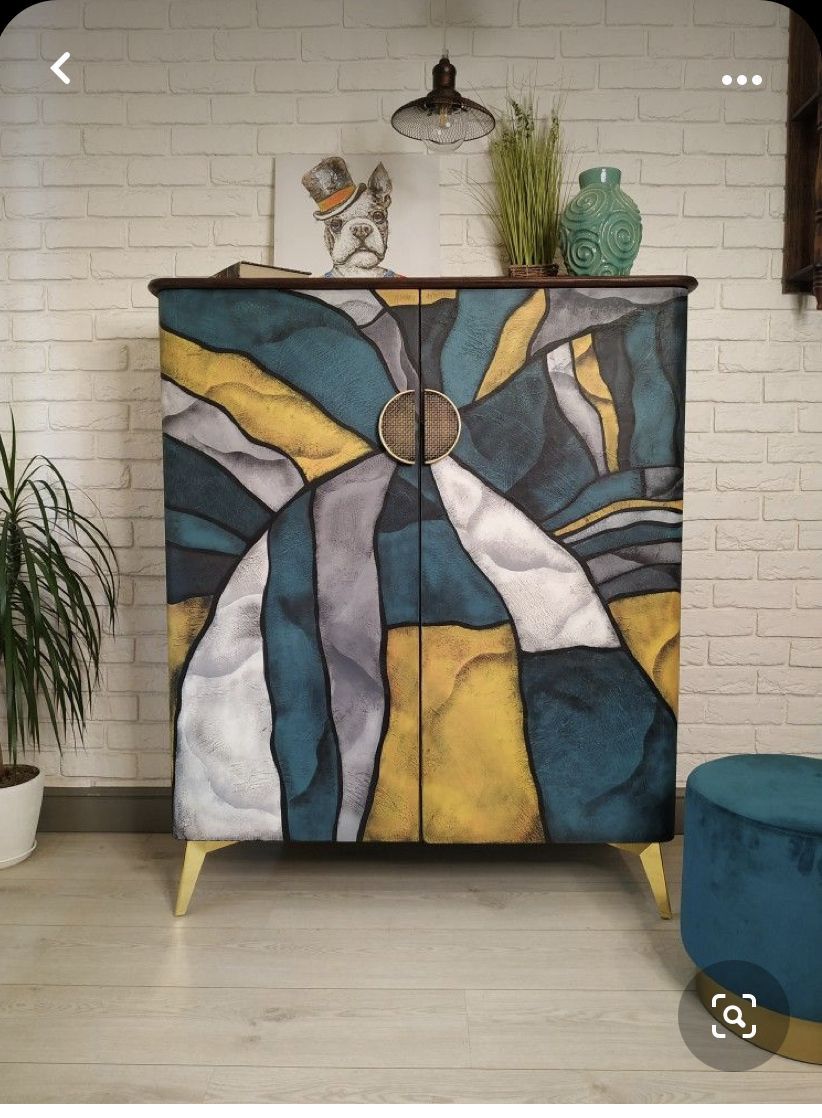
3. Stencil
Use a stencil to create new patterns on your furniture or simply to create simple art pieces to hang. Choose a contrasting color to the background for maximum impact.
4. Upcycle and Personalize
Consider painting old frames, vases, or decorative objects to match your decor. Chalk paint is particularly popular for giving items a vintage or shabby-chic look. For a modern twist, use geometric patterns or ombre effects with spray paint.
Tips for Success:
- Preparation is Key: Always clean and prep surfaces before painting to ensure the paint adheres properly.
- Ventilation: When using spray paint, work in a well-ventilated area or outdoors to avoid inhaling fumes.
- Test First: Try out your chosen paint or spray paint on a small area first to ensure you’re happy with the color and finish.
- Multiple Coats: Apply multiple thin coats rather than one thick coat to avoid drips and achieve a smooth finish.
- Seal It: For items that will be handled frequently or exposed to moisture, use a clear sealant to protect the finish.
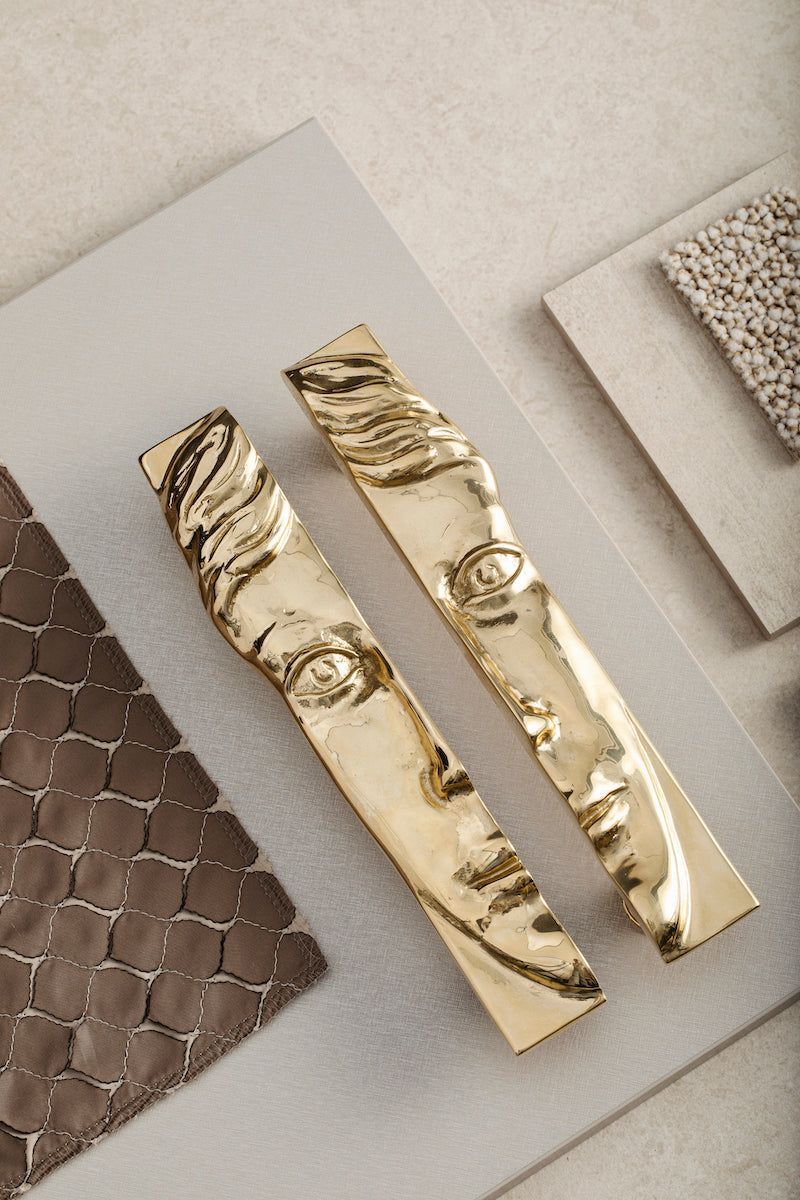
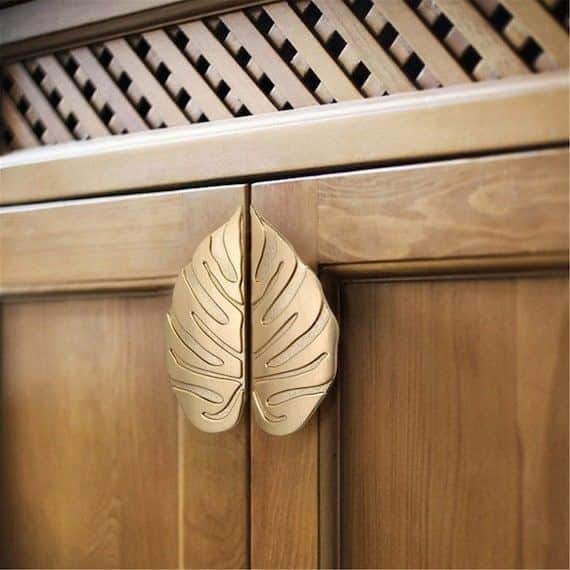
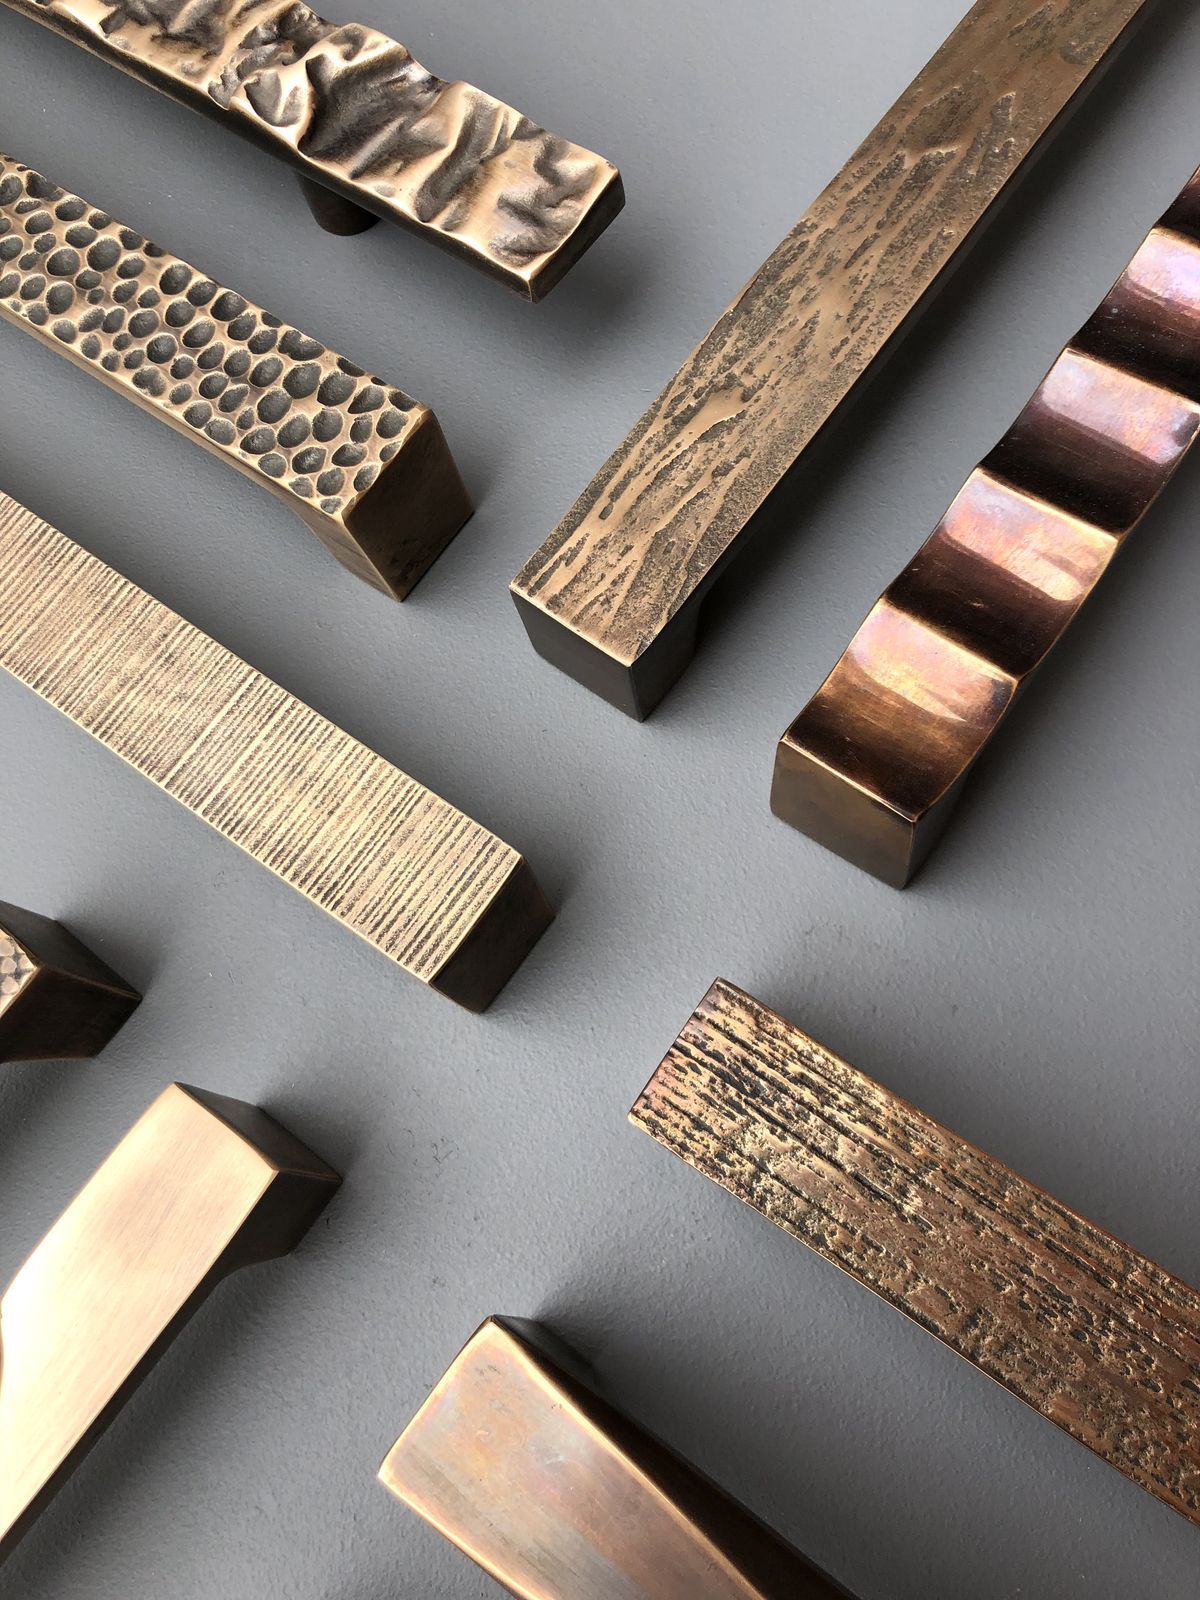
Update hardware
1. Changing Hardware
Swapping out old knobs, handles, and pulls with new hardware is a quick way to update your furniture. Ensure that the new hardware fits the existing holes or be prepared to fill and drill new ones.
2. Painting Hardware
Use spray paint designed for metal to achieve a smooth, durable finish. Popular choices include matte black, or brushed gold. Make sure to clean the hardware before painting to ensure good adhesion.
3. Staining and Painting Furniture Legs
Updating the legs of your furniture can dramatically change its appearance. For wooden legs, consider sanding them down and applying a new stain to enhance the wood grain and match your current decor. Alternatively, paint the legs in a contrasting color for a modern, eclectic look. Spray paint can also be used for a quick and even finish on metal legs.
4. DIY Replacement Legs
Many home improvement stores offer a variety of furniture legs in different styles, heights, and materials. Attaching new legs is usually straightforward and can be done with basic tools.
Tips for a Successful Update:
- Prep Work: Always clean and lightly sand surfaces before painting or staining to ensure the best results.
- Quality Materials: Use high-quality paint, stain, and hardware to achieve a professional look and ensure durability.
- Test First: Try out your chosen finishes on a small area first to make sure you’re happy with the color and finish.
- Protect Your Work: Apply a clear sealant or topcoat to painted or stained legs to protect the finish and keep them looking fresh.
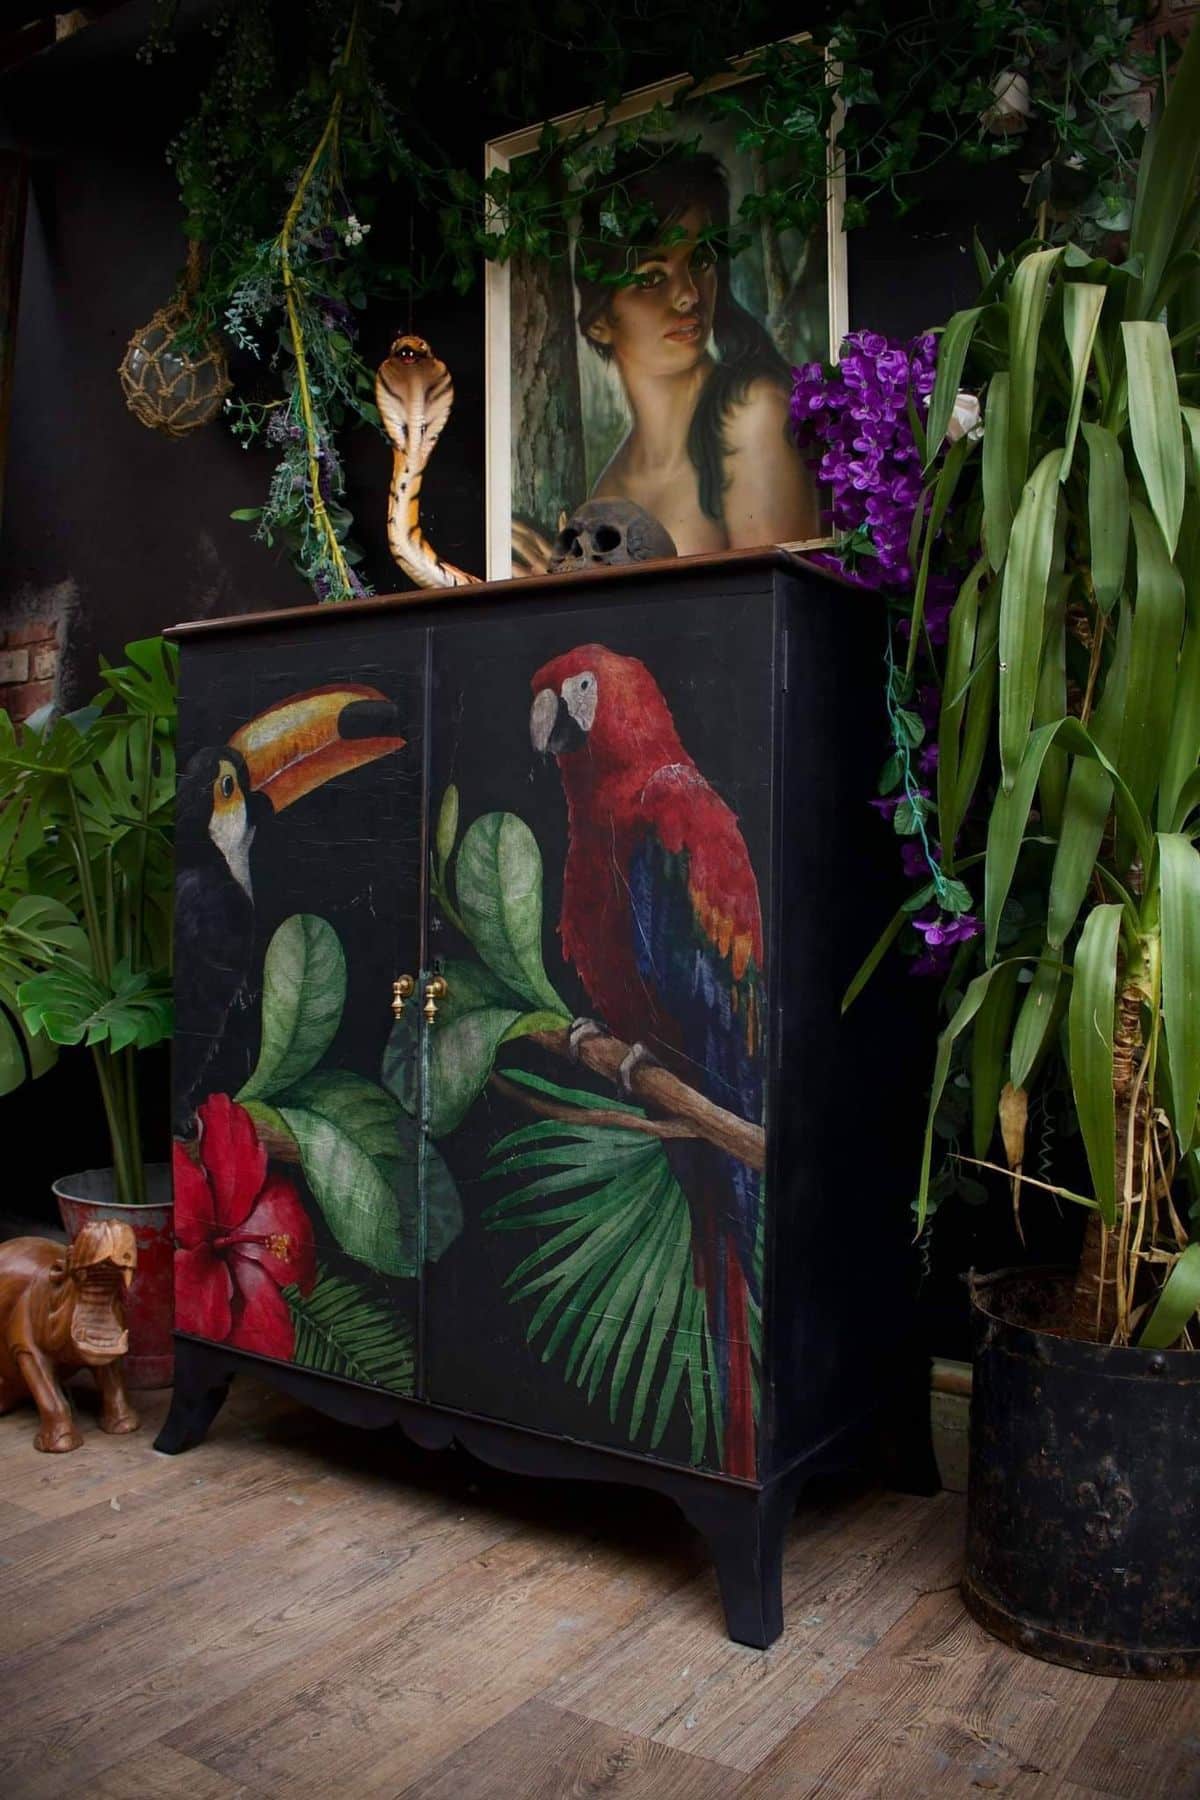
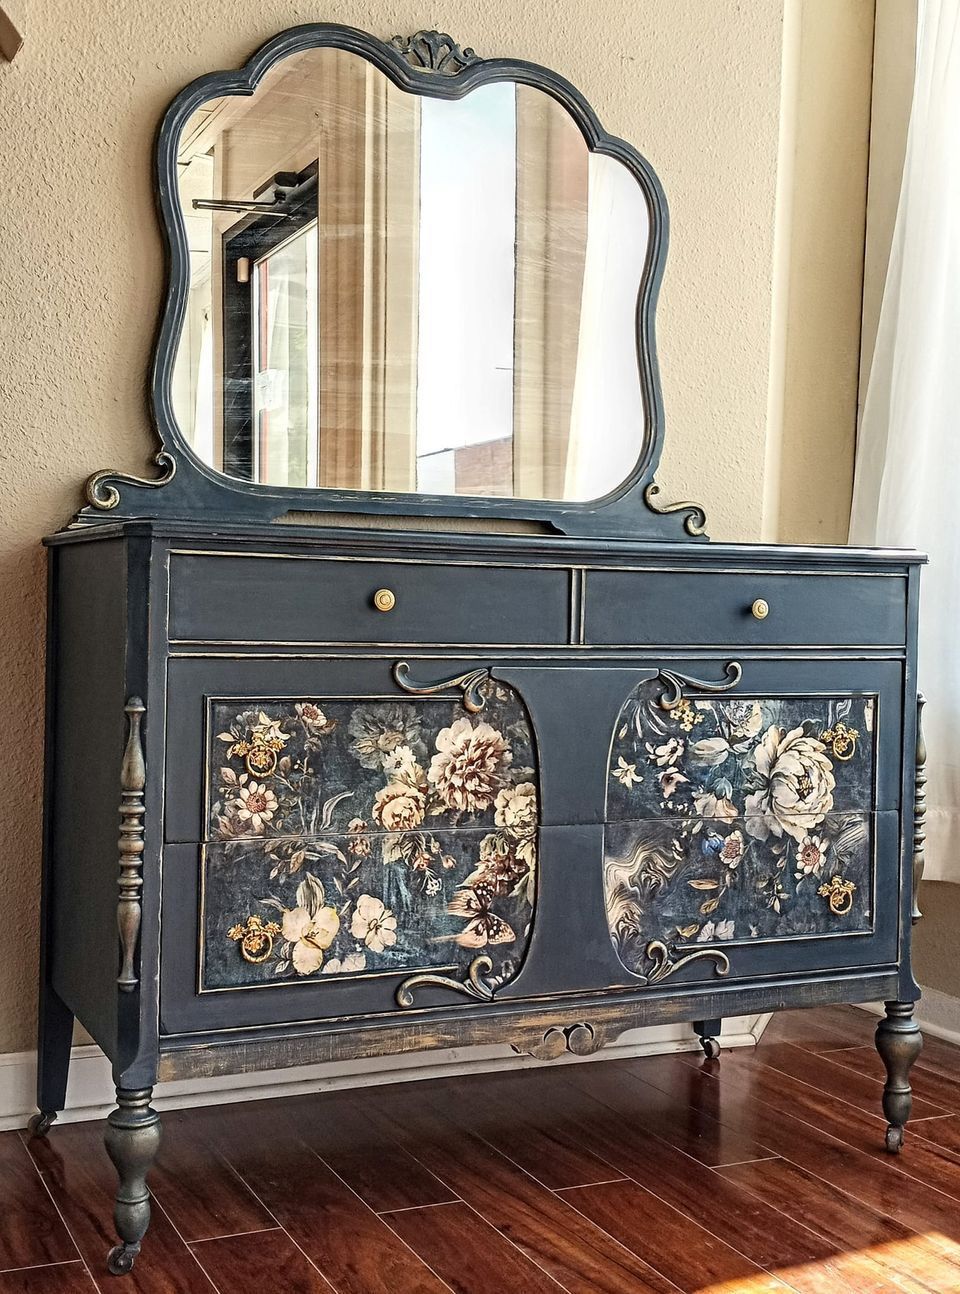
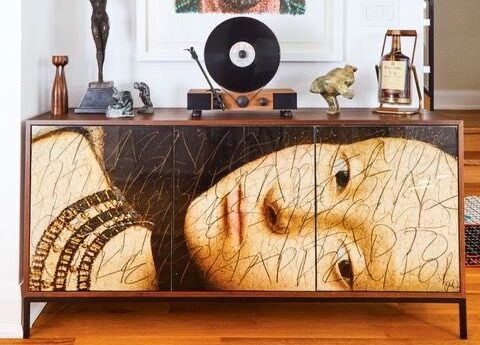
Get into Decoupage
Decoupage is a versatile and artistic technique that involves decorating objects with paper cutouts, which are then sealed with layers of varnish or glue to create a smooth, durable finish. This method can be used to transform a variety of surfaces, from furniture and frames to vases and trays, adding a unique and personalized touch to your home decor.
What You’ll Need for Decoupage:
Materials: Decoupage medium or glue (such as Mod Podge), Brushes or sponges, Scissors, Sandpaper (optional), Sealer or varnish (for added protection)
Surfaces: Wooden furniture, Picture frames, Trays and boxes, Glass vases and jars
Paper Cutouts: Decorative napkins, Wallpaper, Wrapping paper, Magazine clippings, Scrapbook paper
Steps for Decoupage:
Prepare the Surface:
- Clean and dry the surface you plan to decoupage. For a smoother finish, lightly sand the area to remove any bumps or imperfections.
Choose Your Design:
- Select the paper cutouts you want to use. You can go for a specific theme or mix and match various patterns and images to create a collage effect.
Cut and Arrange:
- Cut out your chosen designs and arrange them on the surface without glue to decide on the final layout. This step allows you to make adjustments before committing to the design.
Apply the Glue:
- Apply a thin layer of decoupage medium or glue to the surface. Place your paper cutouts on the glue and smooth out any wrinkles or air bubbles with a brush or sponge.
Seal the Design:
- Once all the pieces are in place, apply another layer of decoupage medium over the entire surface to seal the design. Let it dry completely before applying additional coats for durability.
Finish with a Sealer:
- For added protection and a glossy finish, apply a sealer or varnish. This step is particularly important for items that will be handled frequently.
Tips for Successful Decoupage:
- Thin Paper: Use thinner paper like napkins or tissue paper for easier application and a smoother finish.
- Layering: Build up layers gradually, allowing each layer to dry before adding the next to prevent bubbles and wrinkles.
- Customization: Personalize your decoupage projects with photographs, maps, or book pages to create meaningful decor.